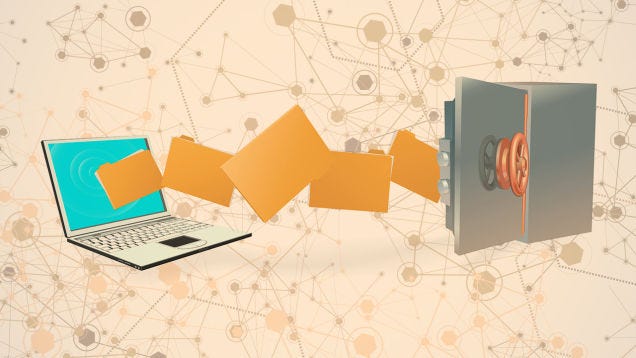
10. We all know we should back up our computers, but it’s always one of those things that you’ll set up “one day”.
Setting up a backup only takes minutes, though, so you can do it right now and forget about it until you need it—and when you do need it, you’ll be glad you set it up. If you’re just backing up to an external drive, you can just use the simple tools built in to your computer, like Windows Backup or Apple’s Time Machine. However, that’ll only keep you safe if your computer fails. If you lose your home in a fire, get all your gear stolen, or experience any other kind of disaster (God forbid), you’ll have lost all those important documents, family photos, and other files forever. So, we recommend using a service like CrashPlan to back up your computer online. That way, it can back up no matter where you are, and that data will be safe no matter what happens to your hardware.

09. The great thing about computers is that they can do a lot of things much faster than a human. Say you’re looking for a specific word on a web page. Instead of scanning it yourself, all you need to do is press Ctrl+F and type the word you’re looking for. There are mountains of shortcut like this, from pressing Ctrl+S to instantly save the file you’re working on, Ctrl+P to print it out, or Ctrl+T to open a new tab in your web browser. It may seem like more trouble than its worth at first, but after you use a shortcut one or two times, you’ll wonder why you ever did anything with the mouse. Check out our list of six shortcuts everyone should know, as well as our shortcut of the day series for even more tricks.
 08. Windows users have long known the pain of viruses and other malware, but the good news is it’s pretty easy to avoid. First, we recommend learning the difference between viruses, trojans, and other kinds of attacks, as well as the myths surrounding them. Then, install some good, free antivirus software to protect yourself (Avast is our current favorite, but Bitdefender is a slightly less nerdy, equally secure option). You can even get antivirus for your Android phone, if you so choose. But in the end, the best way to avoid viruses is to use common sense: don’t open links that look suspicious, don’t install programs from untrusted sources, and if a window pops up saying your computer’s infected, make sure it’s actually your antivirus software saying that and not a fake web page.
07. Understanding routers, modems, and the other things that make up your network can seem daunting, but there are a few basics that can fix most problems that come your way. Does your router constantly need resetting? Make sure it isn’t overheating or clogged with traffic. Is your Wi-Fi speed and range less than ideal? Use one of these tricks to give it a boost. If you experience more serious problems, you can probably fix them yourself too. Check out our complete guide to knowing your network for more info—it’s got everything you need to know, from buying a router to setting up your network and more.
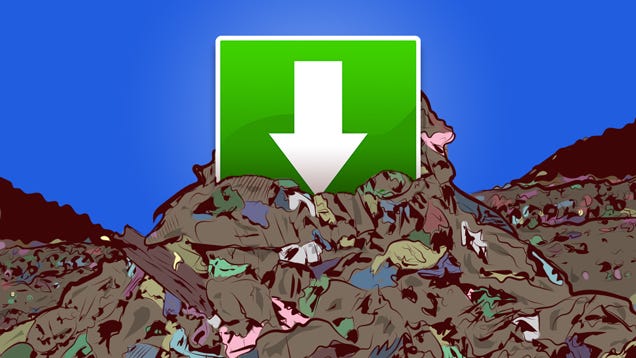
06. Ever wonder how that Yahoo toolbar got on your system, or why there’s so much junk installed on your brand new machine? Crapware is a huge problem in the world of Windows, but that doesn’t mean you have to take it lying down. With the right tools and a little know-how, you can avoid that crapware forevermore: just uninstall the stuff that came with your system, and learn the ways companies trick you into installing stuff you don’t want. You’ll keep that system nice and clean, and beat the scammers at their own game.
05 Ever go out with your laptop and realize you left something important on your computer at home? One way to solve this problem is to use a service like Dropbox, so your files are with you everywhere you go. However, it’s also handy to know how to use your home computer from anywhere. With a simple app like TeamViewer, you can log into your home computer from another machine and use it as if you were sitting right at your desk—whether you just need to grab a quick file or access a program you don’t have elsewhere.
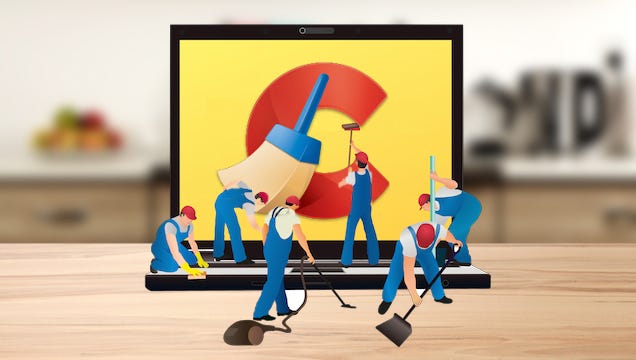
04 Computer maintenance has gotten really confusing over the years. Between defragging, cleaning up temporary files, and other tasks, it’s almost like trying to maintain a car. Luckily, it’s gotten a lot easier in recent years: you only really need to do one or two things to keep your computer running fast and smooth. Check out our guides to Windows maintenance and Mac maintenance for more info and keep your PC running like new. And if your phone’s feeling a little sluggish, we have guides for iOS and Android, too.

03. So you’ve got some files you want to give to your friend sitting next to you, but your flash drive has mysteriously gone missing. Well guess what? You don’t need it! It’s very easy to transfer a file between two computers over your wireless (or wired) network, whether it’s between you and a friend or between multiple computers you own. Here are our favorite ways to share files with a nearby computer, but if you want to share them between multiple computers in your house, Windows’ Homegroup feature is a great option. Of course, this is where the aforementioned Dropbox app can come in handy.

09. Unfortunately, the internet isn’t always a safe place, which means everyone needs to make sure they’re keeping their personal information safe. Make sure you use strong passwords, remove personal information from photos and other files, and never use open public Wi-Fi networks without protection. Keeping your personal information safe is easier than it sounds, and if you aren’t sure what to do, check out our checklist for staying safe online. You’d be surprised how unsafe you were being before.


